
The web development process is the sequence of stages a team goes through to build a website or web app: requirements gathering and project planning, design, development, testing, launch, and maintenance and support. Each stage produces something concrete, from the scope, timeline, and budget to wireframes, working code, test results, and a launch checklist.
For many companies, a website works like a storefront, which is why small business web design services start with planning, not code. Building a site is closer to building a house than painting a sign: you set goals, draw the blueprint, then build. The stages follow the Software Development Life Cycle (SDLC), a roadmap that helps developers plan, design, build, test, and maintain software in a structured way.
Below, we go through each phase: requirements gathering and project planning, the design phase, the development process, the testing phase, the launch, and website maintenance and support.
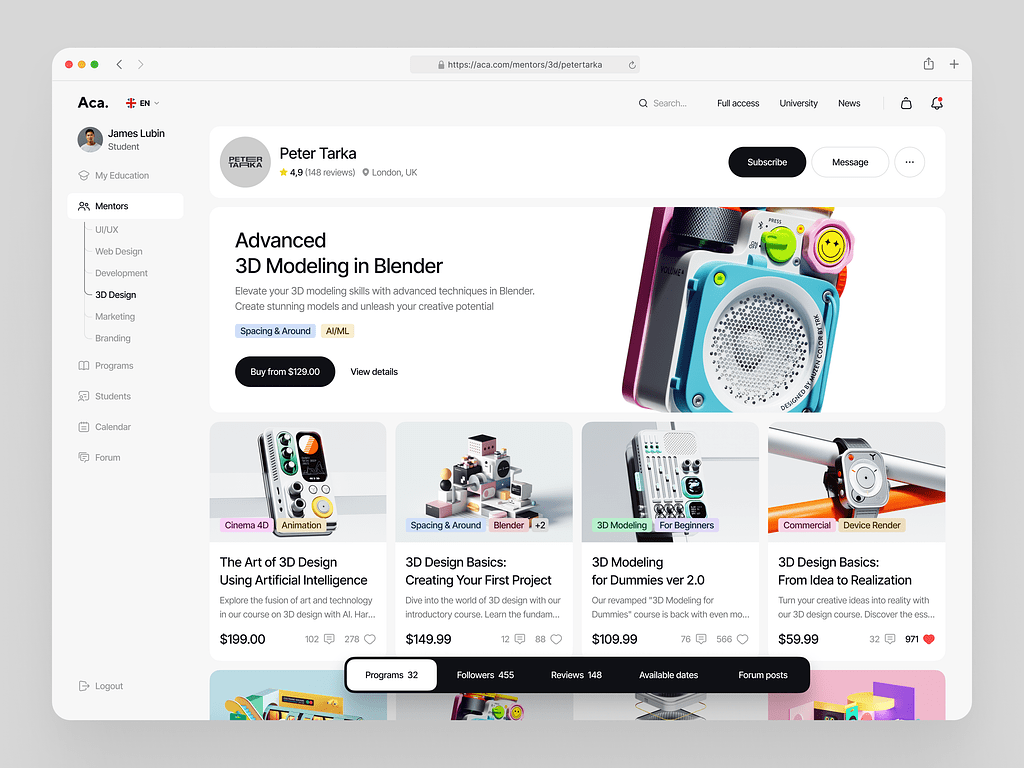
Online Courses Platform Website Dashboard by Shakuro
| Stage | Main Deliverables | Readiness Check | Lead Responsibility |
| Discovery and planning | Prioritized scope, user roles, business rules, success measures, assumptions, and risk register | The first release has clear boundaries, acceptance criteria, and identified dependencies | Product owner with business analyst |
| Architecture and technical validation | System boundaries, data model, integration plan, key technical decisions, and targeted prototypes | High-risk assumptions have been tested; ownership and constraints are understood | Technical lead |
| UX and UI design | User flows, prototype, reusable components, and relevant interaction states | Priority journeys cover permissions, validation, errors, and recovery | Product designer |
| Incremental development | Reviewed code, automated tests, API contracts, and working end-to-end features | Each increment meets agreed acceptance criteria and quality standards | Engineering team |
| Integration and system validation | Integration tests, regression results, performance evidence, and security findings | Critical workflows and failure scenarios pass; unresolved risks have explicit decisions | Engineering and QA leads |
| Business acceptance | UAT results, feedback, and documented scope decisions | Authorized business representatives confirm that release workflows meet agreed needs | Product owner |
| Release preparation | Deployment plan, migration procedure, monitoring, recovery plan, and operational documentation | The team can deploy, detect failures, and execute the agreed recovery procedure | Engineering/operations lead |
| Operation and improvement | Service metrics, incident reviews, dependency updates, and prioritized improvements | Ownership, response procedures, and review cadence are active | Service owner |
The Genesis: Requirements Gathering & Project Planning Phase
The requirements-gathering process & project-planning phase are like laying the groundwork. It’s the first step where developers sit down with clients to understand what they want and need for their website or app.
Here’s what happens:
Understanding goals
We start by figuring out what the client wants to achieve with their website or app. What are they hoping to accomplish? Understanding these goals helps us tailor the project to fit their needs.
Identifying stakeholders
Next, we identify all the people who are involved or affected by the project – not just the client, but also the people who will be using the website or app, as well as anyone else who needs to be involved.
Defining scope
Once we know what the goals are and who’s involved, we define exactly what the project will include. This means deciding what features the website or app will have and what it won’t have, so everyone is on the same page. For example, a social app website needs profiles, feeds, and messaging, while a portfolio site doesn’t.
Setting timelines
We then break down the work into smaller tasks and figure out how long each task will take. This helps us create a timeline for the project, so we know when everything needs to be done.
Creating a budget
Finally, we figure out how much the project is going to cost. This includes not just the cost of building the website or app but also any other expenses, like marketing or hosting fees.
This phase also helps set expectations and create a plan for the project. By talking through everything upfront, developers and clients can make sure they’re on the same page about what needs to be done and when it needs to be done.
Architecture and Technical Planning
Before building individual features, the team needs to decide how the application’s parts will work together. Architecture planning connects product requirements with decisions about data, permissions, integrations, and infrastructure. It also identifies technical risks that could change the scope, budget, or delivery schedule.
The goal is not to design every detail upfront. It is to establish enough direction to build the first working workflows, then refine the architecture as the team learns.
Define System Boundaries and Responsibilities
Map the frontend, backend, databases, background processes, and external services. Identify what each component owns, how components communicate, and where sensitive information crosses a boundary.
For example, a B2B portal might let employees submit requests, managers approve them, and an integration send approved requests to a CRM. The architecture should clarify where approval rules run, which system holds the authoritative record, and what happens when the CRM is unavailable.
Choose a structure that fits the product and team. A modular monolith can provide clear internal boundaries without the operational overhead of separate services. Introduce independently deployed services when specific requirements justify that complexity.
Context and container diagrams can help explain these relationships without documenting every class or function. The C4 model provides a practical structure for these views.
Plan Data, Permissions, and Integrations
Define the main data entities, their relationships, and the rules for creating or changing them. Decide which operations must complete together and which can run in the background.
Document user permissions alongside the data model. Authentication establishes who someone is; authorization determines what they can access or change. In a multi-organization application, tenant boundaries need explicit design and testing.
For each integration, establish the API contract, authentication method, usage limits, and failure behavior. Agree how the application handles timeouts, duplicate requests, delayed responses, and unavailable providers. For HTTP APIs, an OpenAPI description can make request and response expectations explicit.
Turn Quality Expectations Into Testable Requirements
Replace broad goals such as “fast,” “secure,” and “scalable” with requirements the team can evaluate. Define expected traffic, response-time targets for important operations, supported environments, and acceptable recovery objectives.
These requirements should shape technical decisions. A reporting tool with occasional background exports has different needs from an application that must process time-sensitive transactions.
Test uncertain or high-impact assumptions through focused prototypes or technical experiments before committing to the full implementation.
Record Decisions and Ownership
The technical lead coordinates this work with developers, the product owner, QA, and operations or security specialists where needed. Business stakeholders confirm constraints and acceptable trade-offs.
Typical outputs include:
- A system overview and key data-flow diagrams.
- An initial data model and permissions matrix.
- API contracts and an integration dependency list.
- Short decision records explaining important choices and alternatives.
- Technical risks, validation results, and named owners for unresolved questions.
Before implementing a workflow, the team should understand its boundaries, dependencies, and failure behavior. Keep these documents current as the application evolves.
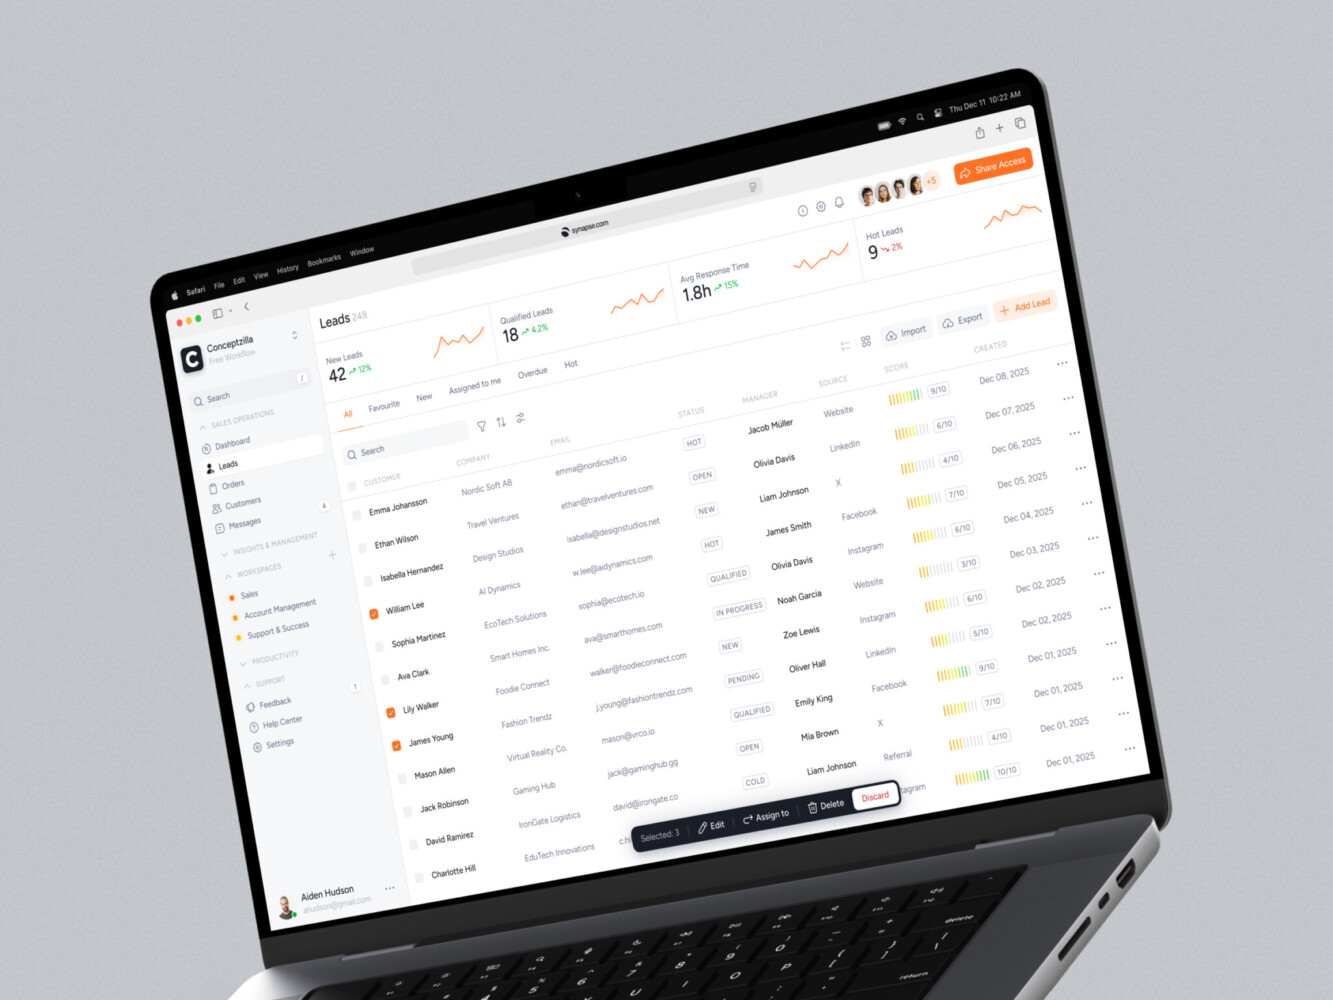
CRM dashboard design by Conceptzilla
Planning APIs and Third-Party Integrations
Most web applications depend on more than their own code. Payment providers, identity services, CRMs, messaging platforms, and analytics tools introduce requirements that affect development, user experience, and operating costs.
Plan these connections early. A working prototype with simulated responses does not prove that the real integration supports the intended workflow.
Map Dependencies and Ownership
For each integration, document its purpose, the data exchanged, and which system owns the authoritative record. Identify who provides access, manages the provider account, approves costs, and responds when the connection fails.
Check practical constraints before committing: sandbox availability, supported features, usage limits, production-access requirements, and pricing. Treat account setup and provider approval as project dependencies, not tasks to discover just before launch.
Agree on API Contracts
Define how the frontend, backend, and external systems communicate. A useful contract specifies request and response structures, authentication, permissions, validation rules, error formats, and relevant pagination or versioning behavior.
For HTTP APIs, an OpenAPI description can document the interface and support documentation, client generation, and testing tools. However, a specification does not prove that either side implements the agreed behavior.
Keep credentials out of browser-delivered code when they grant privileged access. Enforce authorization on the server rather than relying on hidden buttons or frontend checks.
Design for Failures and Repeated Requests
Decide what happens when a provider responds slowly, rejects a request, or becomes unavailable. Set timeouts and bounded retry rules, and distinguish temporary failures from errors that require user action.
Do not retry every failed operation automatically. If a request changes business state, establish how repeated attempts avoid duplicate effects and how uncertain outcomes are reconciled.
Webhooks need similar care. Validate their authenticity and handle repeated or out-of-order events according to the provider’s documented behavior. Stripe, for example, explicitly warns that events can be duplicated and delivered out of order.
These decisions also shape the interface. If a CRM update is pending, the application should show that state rather than claim the entire workflow has completed.
Test and Prepare for Operation
Connect real sandbox services during development and test success, rejection, timeout, and recovery scenarios. Use simulated failures where the sandbox cannot reproduce important conditions.
Before release, verify production configuration, access permissions, monitoring, and support ownership. Keep sensitive payloads and credentials out of routine logs.
The outputs of this work should include agreed API contracts, an integration register, failure-handling rules, test evidence, and operational notes. Together, they make dependencies visible and help the team distinguish a completed screen from a working end-to-end feature.
Laying the Blueprint: Design Phase
In the design phase of web development, we sketch out how the website or app will look and work. It’s like planning the layout of a house before building it.
Website wireframing
First, we create a simple outline, called a wireframe, to decide where things will go on the website or app. It’s like drawing a basic map to plan where rooms and doors will be in a house. This helps us figure out the structure without worrying about colors or fancy designs.
Website UI design
Once we have the wireframe, we move on to UI design. This is where we add colors, images, and other design elements to make the website or app look good.
UI designers use different design principles to choose things like colors, fonts, and icons that will make the website or app easy to use and visually appealing. The goal is to create a design that not only looks nice but also helps users understand and navigate the website or app easily.
Overall, the design phase is about planning and creating the visual look of the website or app. By starting with wireframing to outline the layout and then moving on to UI design to add colors and style, we ensure that the final product is both easy to use and attractive to users.
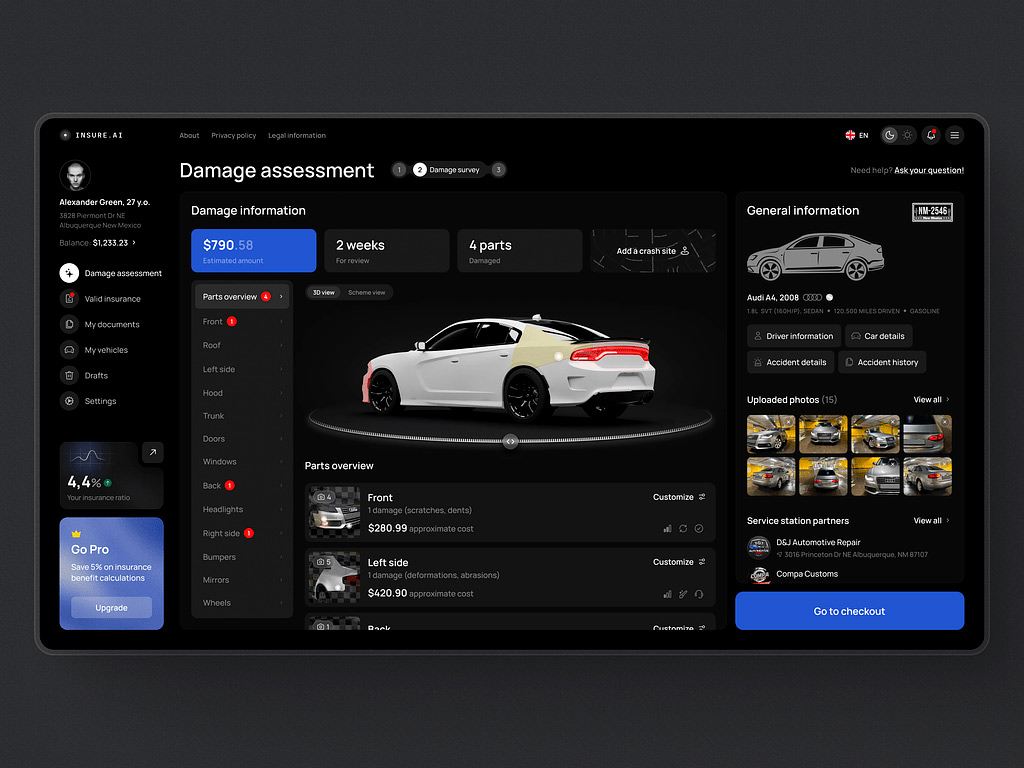
AI Insurance Web Design Concept by Shakuro
Building the Foundation: Development Process
If you’re starting your web development journey, you need a blueprint of the steps you need to start creating websites and applications that serve your users. Let’s break down this entire development process into a clear roadmap and explore each phase of website development:
Choosing the right technologies
We start by picking the tools and languages we’ll use to create the website or app. It’s like selecting the right ingredients for a recipe – we need to make sure they fit the project’s needs.
Frontend development
This is where we create what users see and interact with. Here’s how it works:
- Building the structure: We create the basic layout of the pages using HTML, which is like the skeleton of the website.
- Adding style: CSS comes in to make everything look good, adding colors, fonts, and layouts to the HTML elements.
- Making it interactive: JavaScript adds functionality to the website, like animations, form validations, and interactive elements.
- Testing: We make sure everything looks and works as expected, fixing any issues we find along the way.
Backend development
This is where we handle the behind-the-scenes stuff that users don’t see. Here’s what it includes:
- Setting up the server: We set up the server environment, which is like the engine that powers the website.
- Creating APIs: APIs allow the frontend and backend to communicate with each other. We create these endpoints to handle requests and responses.
- Managing data: We decide how data will be stored and accessed, like organizing files in a filing cabinet.
- Adding functionality: We write code to handle things like user authentication, processing forms, and managing user data.
- Testing and optimization: We make sure everything runs smoothly and optimize for speed and efficiency.
Integration and deployment
Finally, after all development stages are complete, the next crucial step is integration and deployment. Integration involves bringing together different parts of the project to create a unified whole. It’s like putting all the pieces of a puzzle together and sharing it with others. Integration involves bringing together various modules, components, or pieces of code that make a website or app. Deployment then makes the integrated web application available for use by deploying it to a server or hosting environment where it can be accessed by end-users.
That’s the development process in a nutshell – from choosing the right tools and making use of the right frontend development technologies and backend technologies to integrating everything and making it live for users to enjoy.

Ensuring Quality: Testing Phase
The testing phase in web development is like quality control for a product before it hits the market. It’s where we check every nook and cranny of the website or app to ensure it works as intended and provides a smooth user experience. We identify and fix bugs, ensure its functionality, performance, security, and usability.
Throughout the testing phase, developers and quality assurance (QA) team use various testing techniques, tools, and methods to thoroughly evaluate the website and ensure its quality before deployment to production. Here’s what happens during the testing phase:
Testing types
- Unit testing checks individual parts of the code to ensure they work alone.
- Integration testing sees how different parts work together smoothly.
- Functional testing checks if all features of the website or app work as they should.
- Performance testing looks at how the website or app performs under different conditions.
- User Acceptance Testing (UAT) involves real users to make sure the product meets their needs.
Bug fixing
During testing, we inevitably uncover bugs or issues that need to be fixed. This could range from broken links and missing images to more complex functionality issues.
Compatibility testing
We also test the website or app across different browsers, devices, and operating systems to ensure it looks and works consistently for all users.
Regression testing
As new features or updates are implemented, we conduct regression testing to ensure that previously fixed bugs have not resurfaced and that the changes haven’t introduced any new issues.
User experience testing
We also check how easy it is for people to use the website or app. We look at things like how easy it is to find stuff, how things are laid out, how easy it is to read, and if it works well for people with disabilities.
Documentation
Lastly, during testing, we write down any problems we find and how we fix them. This helps us keep track of what we’ve done and makes it easier to fix similar issues in the future.
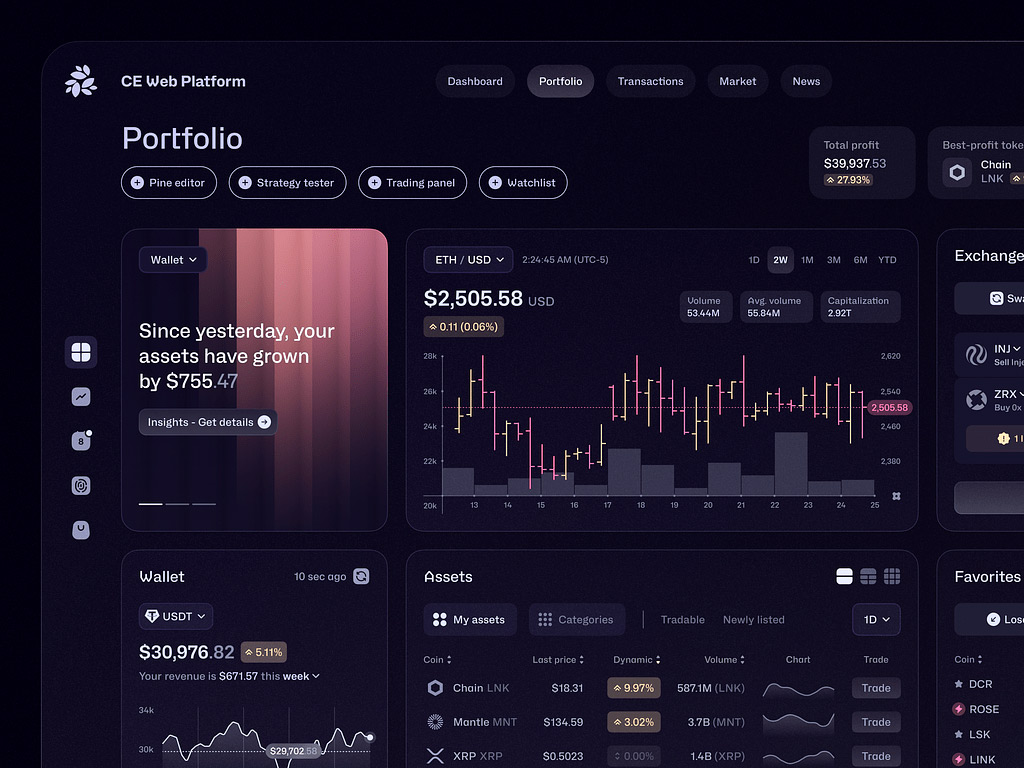
Crypto Exchange Web Platform by Conceptzilla
Setting the Stage: The LAUNCH
Furthermore, preparing for a website launch involves several crucial steps to ensure success. Here’s a simple website launch checklist to help you navigate this part of the web development process:
- Test everything:
- Ensure all parts of the website work.
- Check appearance across devices and browsers.
- Test links, forms, and buttons.
- Review content:
- Check the text for errors and clarity.
- Ensure images and videos load quickly.
- Verify the accuracy of contact details and prices.
- Improve search results:
- Use keywords for better search visibility.
- Submit a sitemap to search engines.
- Track website traffic with tools like Google Analytics.
- Make it fast:
- Optimize website speed by reducing file sizes.
- Use tools for faster loading times.
- Keep it safe:
- Secure the website with encryption and backups.
- Prepare for potential issues during the launch.
- Get ready to launch:
- Plan launch timing and announce it.
- Promote the launch via emails and social media.
- Plan for problems:
- Anticipate launch issues and have solutions ready.
- Ensure a backup plan for reverting to previous versions.
- Follow the rules:
- Ensure compliance with privacy and copyright laws.
- Add necessary policies like privacy statements.
- Keep an eye on things:
- Monitor website performance and fix any issues.
- Gather feedback for improvements post-launch.
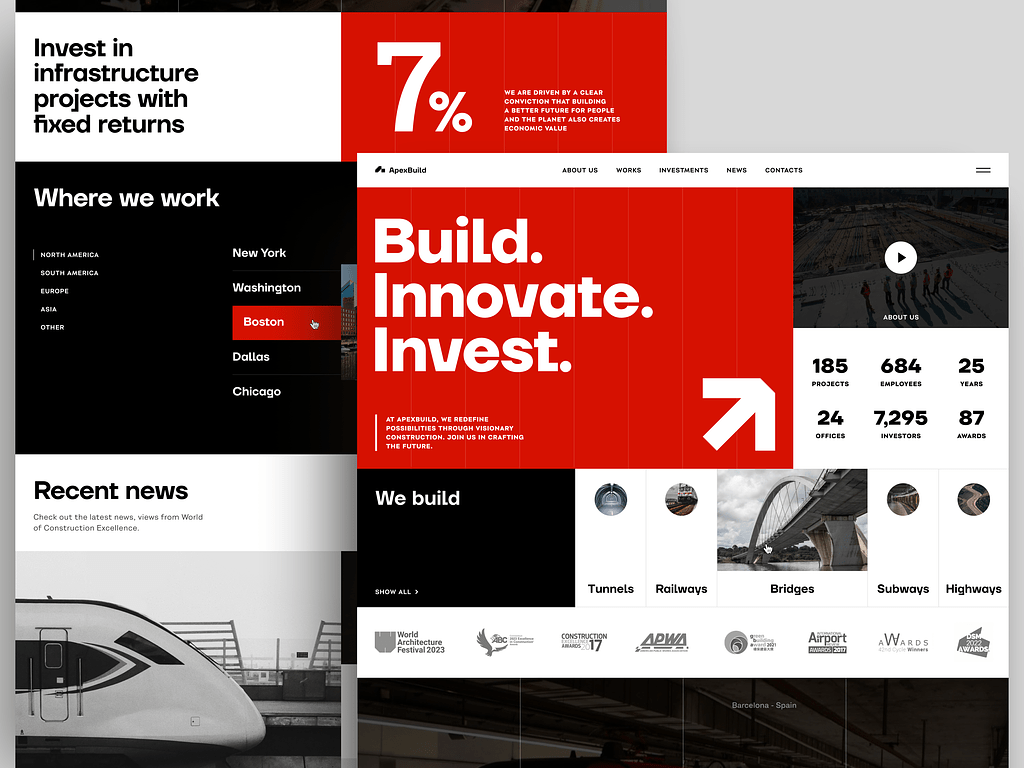
Real-Estate Construction Company Website by Conceptzilla
Keeping the Ship Sailing: Website Maintenance and Support
Lastly, one of the most important steps in the entire web development process is the website maintenance and support AFTER the website launch.
Shakuro can help in maintaining and supporting your website by offering comprehensive services tailored to your needs. Here’s how:
- Regular updates and fixes: Shakuro keeps your website up-to-date and fixes any issues quickly.
- Security measures: We make sure your website is safe from hackers and cyber threats.
- Speed and efficiency: Shakuro makes your website faster and easier to use on all devices.
- Support: We’re here to help with any questions or problems you have, ensuring your website runs smoothly.
- No downtime: Monitoring, incident response, and recovery procedures help reduce downtime and restore service when failures occur.
Do you have a web project in mind? Contact us and let’s get started.
FAQ
What are the stages of the web development process?
The web development process usually has six stages. It starts with requirements gathering and project planning, followed by the design phase with wireframes and UI design. Then comes development, covering frontend, backend, integration, and deployment. After that, the testing phase checks quality, the launch makes the website live, and maintenance and support keep it secure, fast, and up to date.
What happens in the planning phase of web development?
In the planning phase, the team and the client agree on what the website or app should achieve. They define the goals, identify stakeholders, including future users, set the scope by deciding which features are in and which are out, break the work into tasks to build a timeline, and create a budget that also covers costs such as marketing or hosting fees.
What is the difference between frontend and backend development?
Frontend development creates what users see and interact with: the page structure in HTML, the styling in CSS, and interactive elements in JavaScript. Backend development handles what users don’t see: setting up the server, creating APIs that let the frontend and backend communicate, deciding how data is stored and accessed, and adding functionality such as user authentication and form processing.
What testing is done before a website launch?
Before launch, the QA team runs unit testing for individual parts of the code, integration testing to see how parts work together, functional testing of every feature, performance testing under different conditions, and user acceptance testing with real users. They also check compatibility across browsers and devices, run regression tests after updates, review user experience, and document every bug and fix.
Why is maintenance part of the web development process?
A website keeps needing work after launch. Maintenance and support include regular updates and quick fixes, security measures against hackers and cyber threats, speed improvements on all devices, answers to users’ questions, and monitoring that keeps the site online without interruptions. Skipping this stage turns a new website into an outdated and vulnerable one.
***
The article was originally published in March 2024 and was updated in October 2026 to make it more relevant and comprehensive.
Related reading