
IPython Distinctive Features
IPython is a powerful tool for the Python language. The essential components of IPython are a multi-faceted interactive shell and the core for Jupyter. Some of the most prominent distinctive features are the following:
Contents:
- Complex self-analysis of objects.
- Maintaining input log during all the scenarios.
- Caching output deliverables.
- Expendable system of magic commands.
- Session logging.
- Additional command syntax.
- Code highlighting.
- Access to the system shell.
- Compatibility with PDF debugging tools and Python profilers.
IPython enables multiple clients to connect to one hardware code and can work in a parallel cluster due to its architecture.
Jupyter Notebook
By using Jupyter Notebook, you can develop, document, and run Python applications. Jupyter Notebook consists of 2 components: a browser-enabled web application and notebooks – the files to work with the program source code (launch, upload, and download data).
The web app allows for:
- Python code editing with syntax highlighting, autoindents, and auto code completion.
- Launching the code in a browser.
- Displaying calculations results with media expressions in charts and graphs.
- Working with the Markdown and LaTeX markup languages.
Notebooks are the files containing the source code, input and output data received within a session. Basically, it’s a record of your work that also allows you to execute the code it contains. Notebooks can be exported into the .PDF and HTML formats.
Install And Launch IPython
As the installation result, you’ll have the shell running in a browser. To install Jupyter, you need Python 2 (I use the 3rd version) installed as a prerequisite.
pip3 install jupyter
Now to launch Jupyter, enter the following command to the console:
Jupyter notebook
Jupyter Notebook UI Elements
Every notebook has its name displayed on top of the screen. To change it, click the current name and enter the new one.

From the UI elements, the following are the ones that stand out.
Menu Panel.

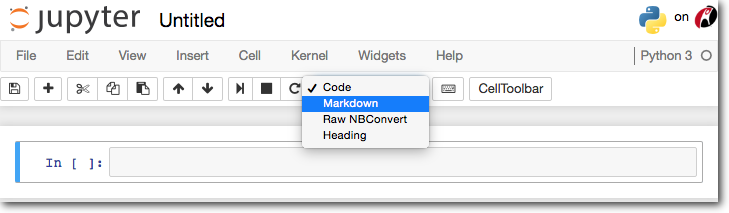
Toolbar.
![]()
Work field with cells.

Notebook may be in two states: Edit mode and Command mode. The current mode is displayed on the right side of the menu panel. In the Edit mode, there appears a pencil icon the absence of which indicates the notebook being in the Command mode.

To open the context help on the keyboard shortcuts, navigate to Help, and then Keyboard Shortcuts.
On the right part of the menu panel, there is an indicator of the Python core workload. If the core is in the waiting mode, the indicator is displayed as a circle – ⚪ If the core is performing a task, the indicator is filled – ⚫
Running And Interrupting Code Execution
To interrupt the frozen application, in the menu panel, navigate to Kernel -> Interrupt.
To add a new cell, go to Insert->Insert Cell Above и Insert->Insert Cell Below.
To run a cell, use the Cell menu commands or the following keyboard shortcuts:
- Ctrl+Enter to execute the cell content.
- Shift+Enter to execute the cell content and proceed to the cell below.
- Alt+Enter to execute the cell content and add a new cell below.
Share Notebooks
There are several ways to share notebooks and make them available for whoever with a certain level of comfort in usage:
- Pass the .ipynb notebook file directly. In that case, it can only be opened with Jupyter Notebook.
- Convert the notebook into the HTML format.
- Use https://gist.github.com/.
- Use http://nbviewer.jupyter.org/.
Picture Output In Notebooks
It might be a good idea to have the images printed out in case you are using the matplotlib library for building charts and graphs. By default, charts are not displayed in the notebook working field. In order to have them displayed, enter and execute the following command:
%matplotlib inline
An example of picture output is presented below.
Magic Support – Integral Part Of Jupyter Notebook
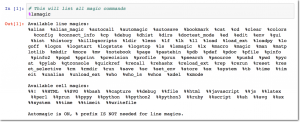
An integral part of the Jupyter Notebook functionality is the Magic support. The concept of Magic in Python revolves around the additional commands, executed within the shell to lighten the test development and evaluation process while expanding your abilities. You can access the list of the available Magic commands by means of the following command:
To do work with environment variables, use the following command:
%env

Launching the Python code from the .py files and other notebooks’ .ipynb files is performed with the help of the following command:
%run

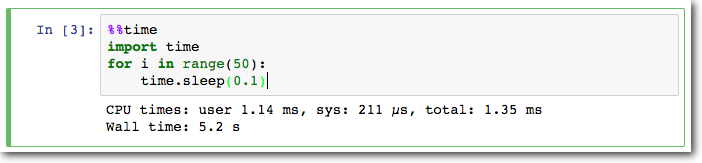
To measure the code performance time, use the following commands:
%%time

%timeit
The %%time command enables you to get the information on the code performance time within one single cell.
The %%timeit command runs its transmitted code 100 000 times (by default) and displays the information on the 3 average fastest runs.

Functional Examples For Selenium
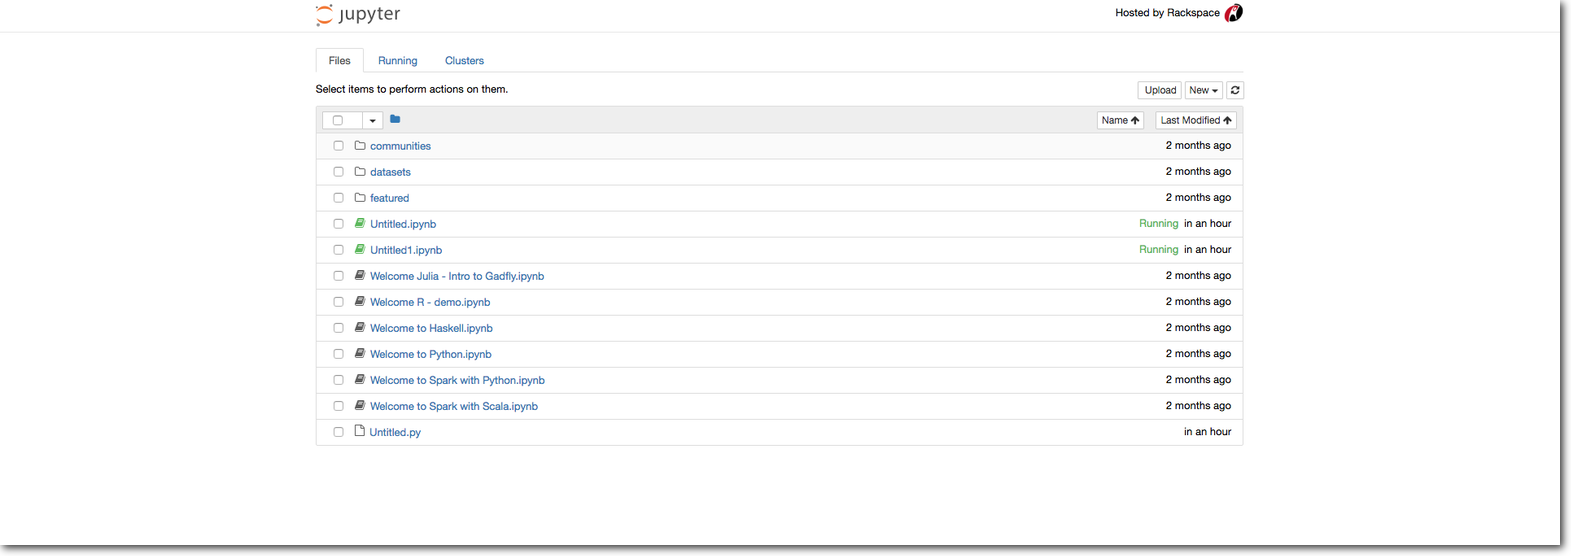
Launch Jupyter Notebook and select your project folder.

In the folder, create a notebook using the “New” drop-down, and select “Python [Root]”.
After the notebook is created, you can enter Python code or Markdown notation text into the cells.
Now let’s write a simple script to check the system work in conjunction with Selenium. For this, install Selenium, unless you haven’t already, by writing the following command in the console:
pip3 install selenium
Then, add the line with an import of the required dependencies.

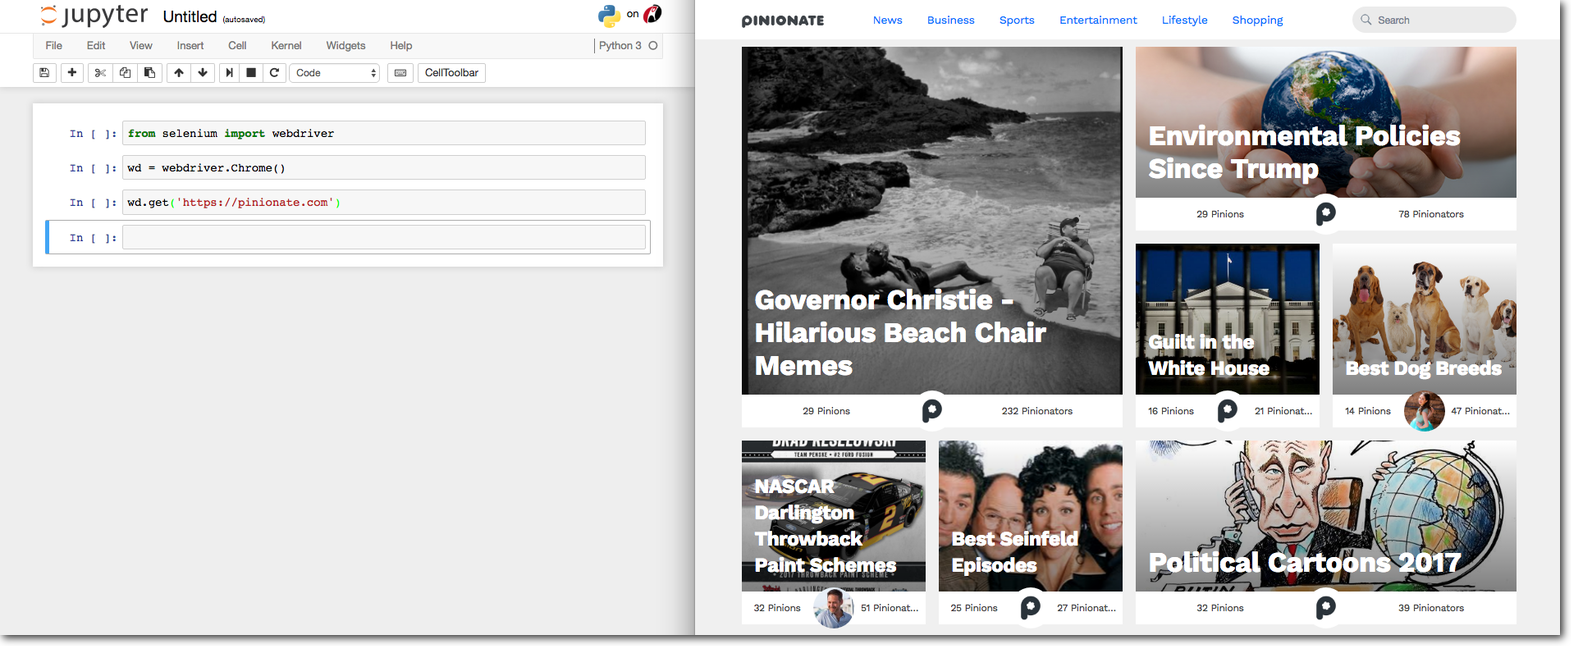
Add a browser launch (the path to a browser driver has to be previously specified in the system variable). We’ll be using Chrome as an example:

Add the required website opening.

Now, let’s try to launch these 3 steps. For this, enter the command mode, press Esc, select all the steps, and launch all the steps by pressing Shift + Enter. This way we’ll get two windows – one with Jupyter running and the second for test creation/validation.
I’ll try to open the required element (the first widget) by clicking it, which is a typical Selenium command. The beautiful thing about Jupyter here is, it suggests the autofill options of the necessary commands by a habitual Tab command.

Adding a locator click:

Let’s try to give a positive vote to the first picture and a negative to the second one. We’ll do that in one step, where you can use as many lines of code as you want. This enables us to create and reuse fairly complicated methods in the next steps.

Shoot! This command threw an error message of “NoSuchElementException” and this is where another huge advantage of Jupyter shows up in its ability to view console output for every step, based on which we can decide which changes to apply to the tests.
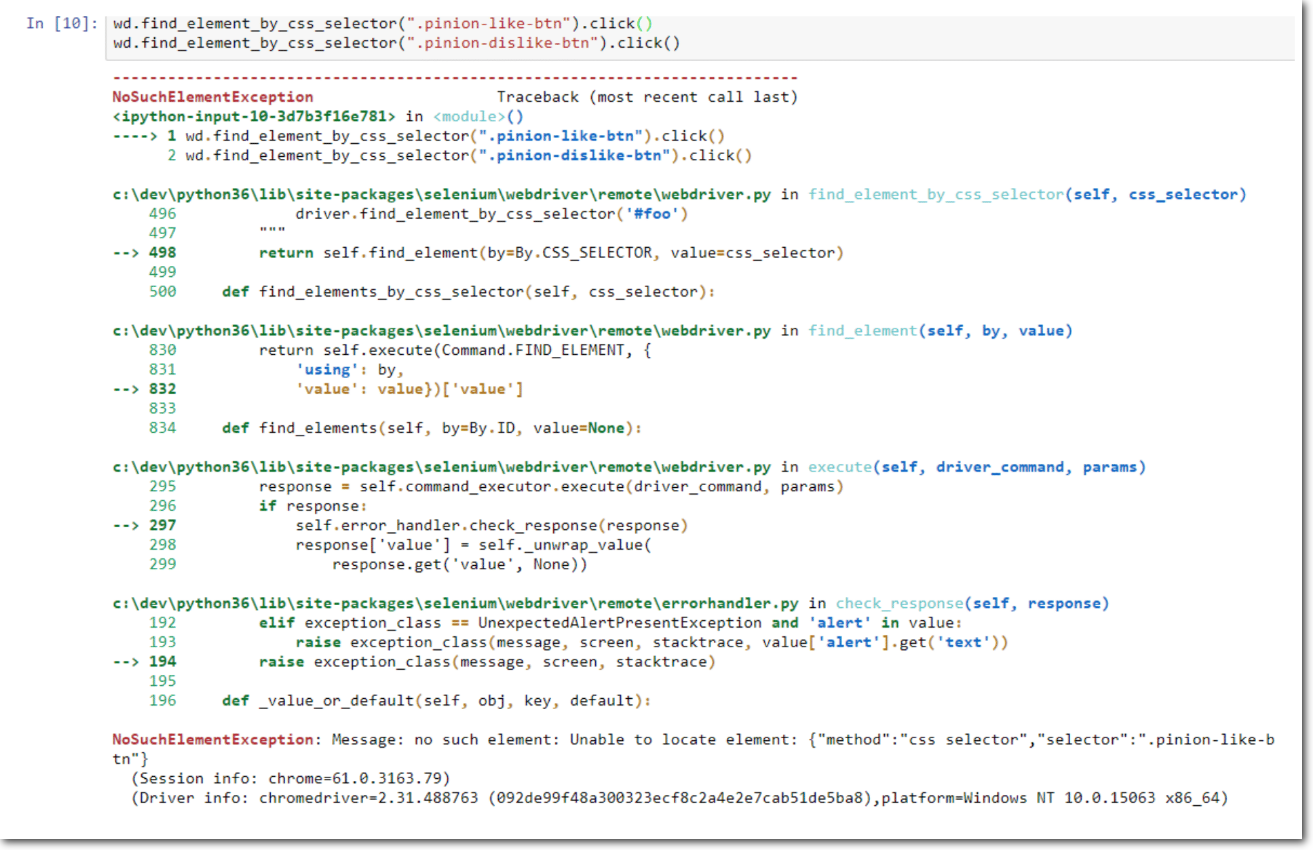
In our case, it’s the inability to click the element as it is located within the frame. Now, let’s utilize another Jupyter advantage – code commenting. Jupyter supports markdown. To translate a line into markdown, type M in the command mode. Then, add a comment about frame initialization, add a command to transfer to the right frame, and then give a positive vote.
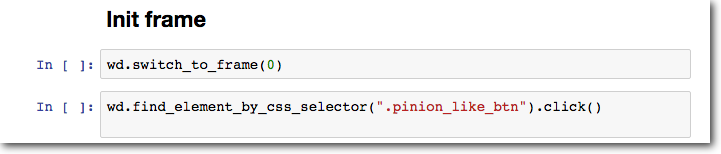
Now everything worked out perfectly. As a result, we moved on to a new picture and our vote has been counted.

The rest of the manipulations can be done manually without sticking to the Jupyter commands. It won’t affect their usage in the future, as everything will go down within one session. After that, you can use the Jupyter steps, it really helps when the transfer to an app’s different state is easier done manually.
This is how Jupyter supplies all the needs that occur during our app exploration in terms of planning, validating, and writing tests.
Why Use Jupyter For Autotests
Yet again, why should we use Jupyter and IPython for building and debugging autotests, as well as evaluating them?
- Clarity. You can see the output of every operation in the entire scenario of our test.
- UI Convenience. You can launch any step countless numbers of times in a comfortable clear interface (in the command interface, searching and running previous commands is just so draining).
- Scenario Reuse. Saving some of the commands into notebooks with the ability to reuse the whole scenario and its parts sometime in the future in different notebooks or by pasting them to console.
- Integration. You can combine steps in the tests by selecting cells.
- Magic. With the help of magic, we can measure the test time, create several environments to run tests, use them for multiple sessions by launching notebooks in multiple instances, etc.
As can be seen from the above, you can honestly consider Jupyter to be that Swiss Army knife that might be of great use not only for a Python QA engineer but also test developers in other languages.